
I Made a Fairy Garden with Succulents — This DIY Took Me 30 Minutes and Looks Like a Dream

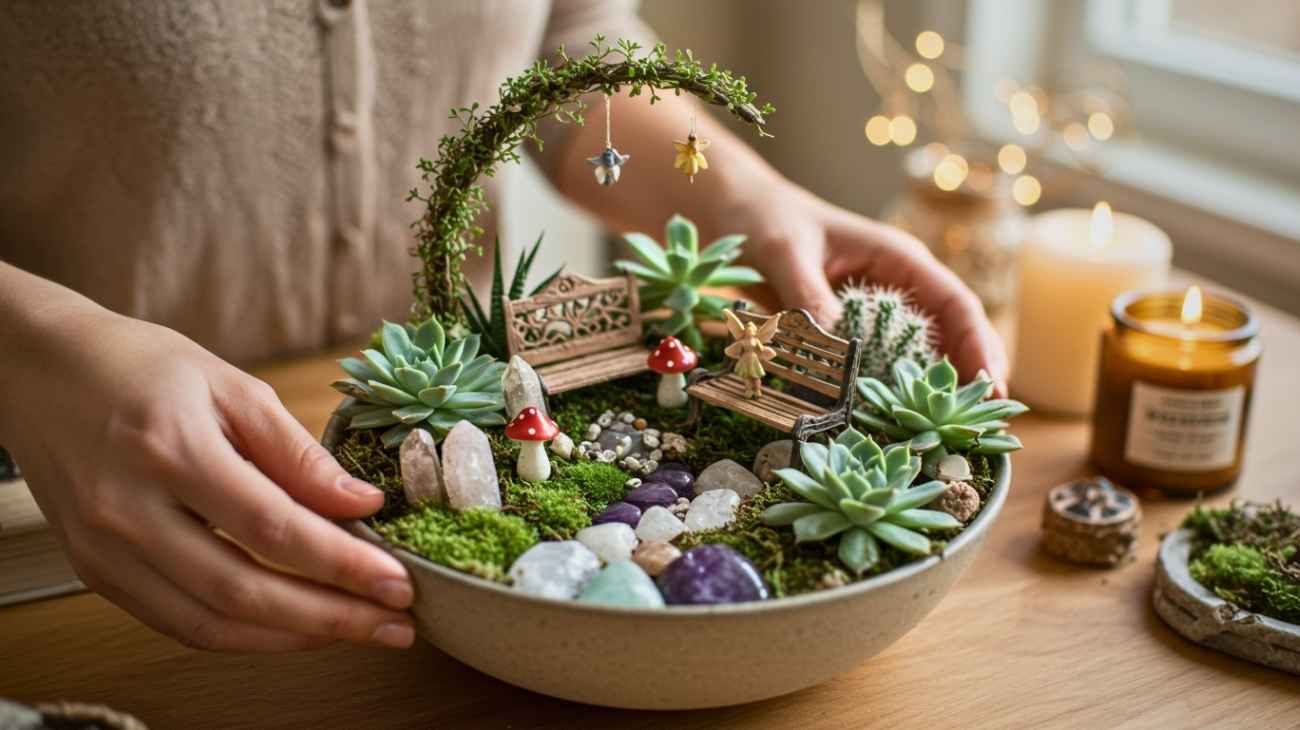
A Tiny Project with Big Magic
I was having one of those days — you know the kind. I needed a break from my screen, a boost for my creativity, and something pretty to focus on. I didn’t want a complicated craft or a weekend-long DIY… just a little project that would make me smile.
That’s when I remembered an old shallow bowl I had tucked away and a handful of succulents I hadn’t planted yet. The idea struck me like a spark: what if I turned them into a tiny fairy garden? Not just a plant arrangement — but a dreamy little world I could place on a shelf, a table, or even gift to a friend.
Thirty minutes later, I had something I absolutely loved. It was simple, fun, and oh-so-magical — like a secret garden in miniature. And now I’m going to show you how you can create your own fairy garden with succulents, step by step.
Gathering the Magic — What You’ll Need
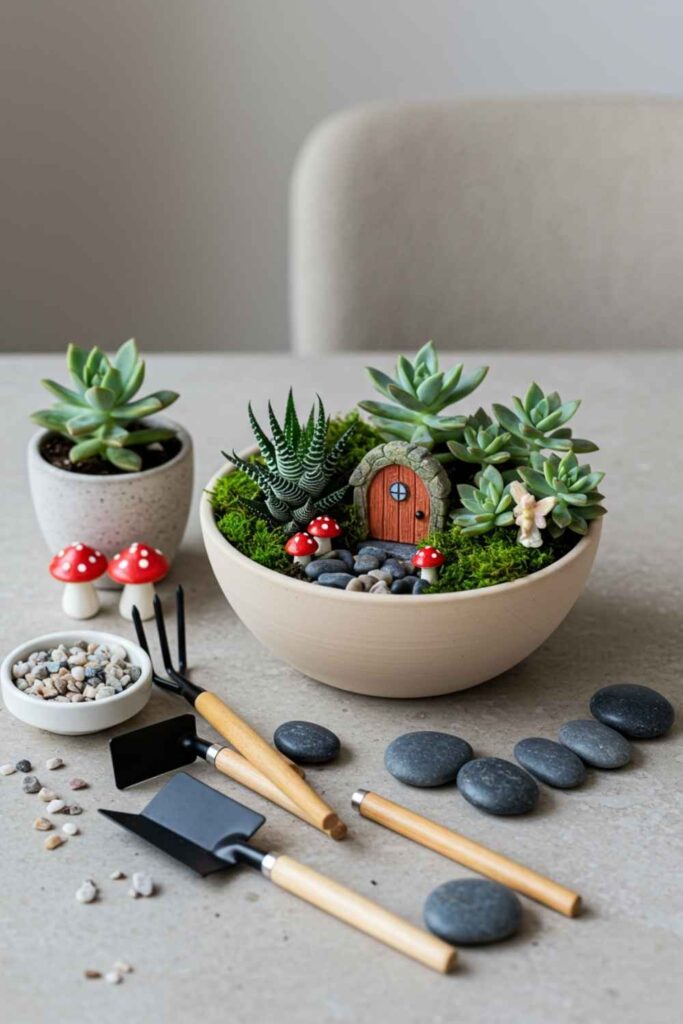
The best part about this project? You probably have half of it already. I didn’t buy anything new — I simply got creative with what I had around the house.
Materials I Used:
- A shallow container (ceramic bowl, terra cotta dish, or wide teacup)
- Succulents — I used 4 small ones in different shapes and colors
- Cactus or succulent soil
- Pebbles or gravel for drainage
- Moss — preserved sheet moss or reindeer moss for texture
- Mini fairy accessories — think tiny mushrooms, fairy doors, or a little bench
- Optional: crystals, sand, or shells for extra sparkle
You can totally personalize this with your own aesthetic — go rustic, enchanted, beachy, or boho. That’s the fun of it!
Planting the Dream — Step-by-Step in 30 Minutes
Here’s exactly how I put mine together in less than half an hour — with zero stress and maximum joy.
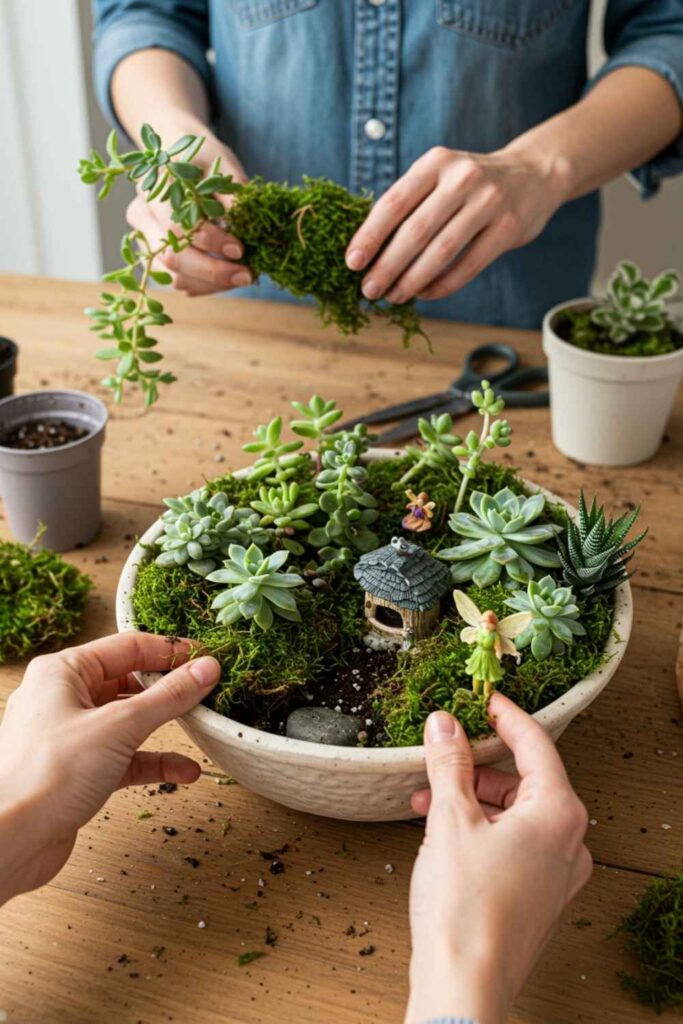
Step 1: Add a Layer of Pebbles
This helps with drainage and keeps those succulent roots happy.
Step 2: Pour in Succulent Soil
Add enough to give your plants a cozy bed, then gently pat it down.
Step 3: Place Your Succulents
I started with the tallest in the back and grouped the others to one side, leaving room for moss and decor.
Step 4: Add Moss & Mini Decor
I tucked moss around the plants for that fairy forest floor look. Then came the tiny mushrooms, a quartz crystal, and a teeny garden chair.
Step 5: Water Lightly & Enjoy
Succulents don’t need much water, so a light mist or drop near the roots was plenty. And just like that — magic.
Styling and Placing Your Mini Garden
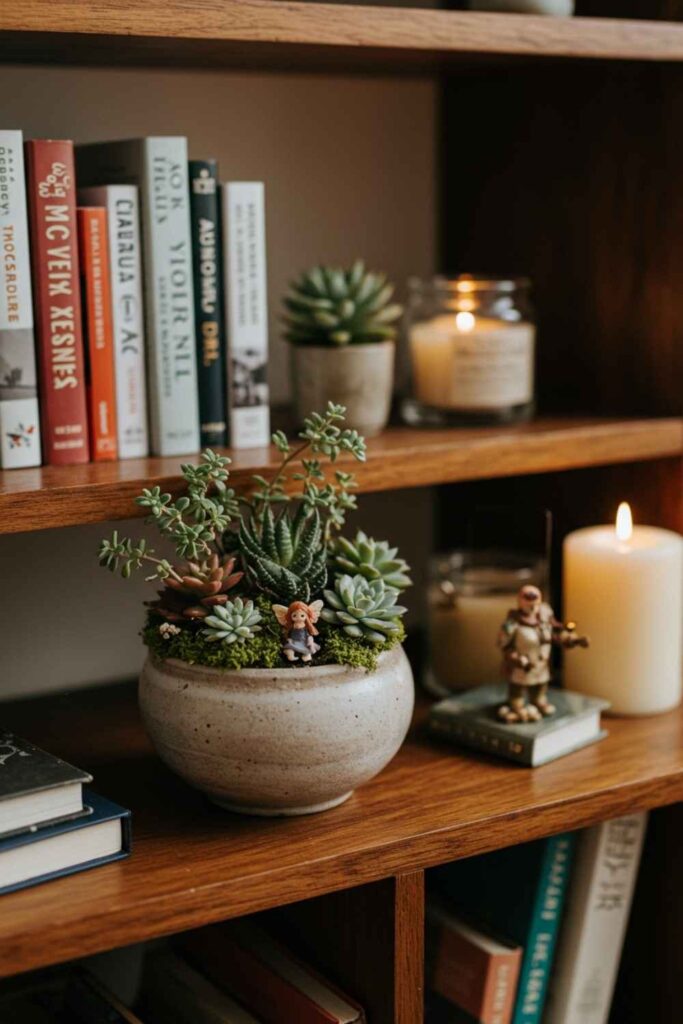
Once it was done, I carried it around the house like a proud little treasure, looking for the perfect spot. And honestly? It looked amazing everywhere.
Here are some of my favorite places to style it:
- On a bookshelf, next to candles and vintage books
- As a centerpiece on my coffee table
- In the bathroom, where it adds a fresh, spa-like touch
- On the windowsill with a view of the garden outside
- Even as a gift — because who wouldn’t want their own little fairy land?
I added a small LED tea light next to mine at night — it makes the whole thing glow like a magical scene.
Small Project, Big Joy
Sometimes the smallest projects bring the most joy. This tiny DIY didn’t just fill a half hour — it brought me back to myself. It reminded me that creativity can be simple, beautiful, and personal.
If you’ve got a few succulents and a sprinkle of imagination, you can make a fairy garden that feels like a tiny escape from the everyday.
Would you try making your own fairy garden with succulents?
What magical element would you add to yours? I’d love to hear your ideas — leave a comment and let’s dream together.