I Made a DIY Witch Broom from Scratch—And Now I Want to Make 10 More
Hello, creative little witch! Have you ever felt that special tingle when imagining yourself creating your own magical broomstick? It’s a mystical and super satisfying experience! When I made mine for the first time, I thought it would be just a fun weekend experiment, but it quickly turned into something deeply personal, powerful, and… completely addictive.
With each step, I felt an earthy, gentle energy growing in my hands. By the time I finished, I knew I wanted to have an entire collection of enchanted brooms!, each with its own personality and purpose.
If you’ve ever dreamed of having your own witch broom made by you, this is your moment! I’ll guide you step-by-step in this exciting DIY, from choosing the perfect materials to adding those final magical touches. Are you ready to channel your inner witch?
Step 1: Gather Natural Materials
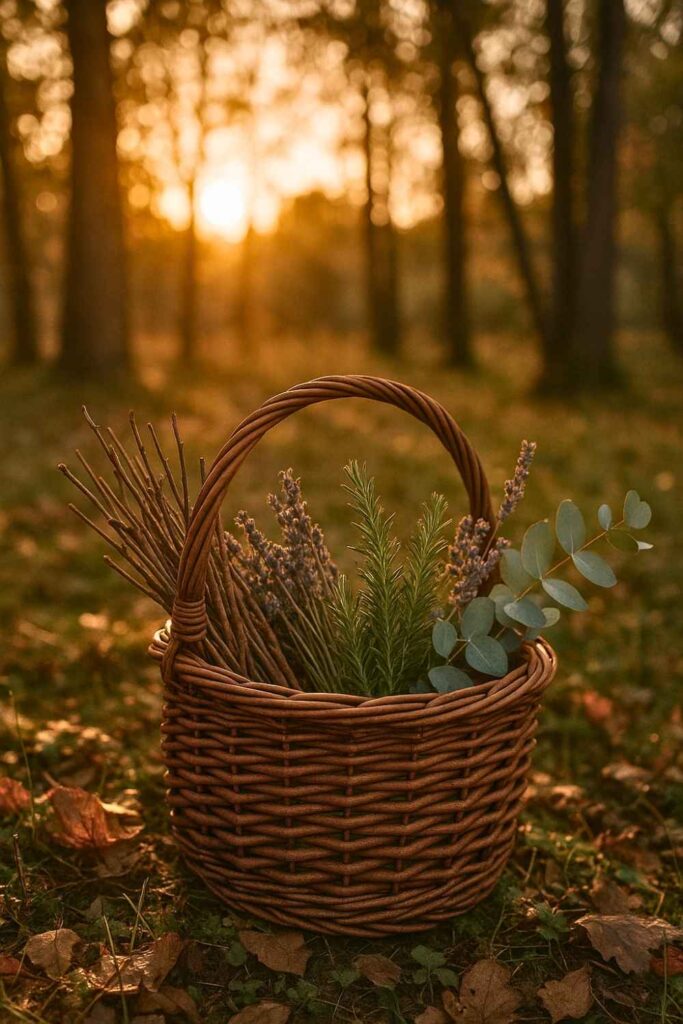
Begin your journey by immersing yourself in nature. Look for fallen branches sturdy enough to serve as broom handles, and bundles of dried herbs, twigs, or grasses for the brush. Willow branches, lavender, rosemary, or even eucalyptus can all bring a unique, personal touch.
Step 2: Preparing the Broom Handle
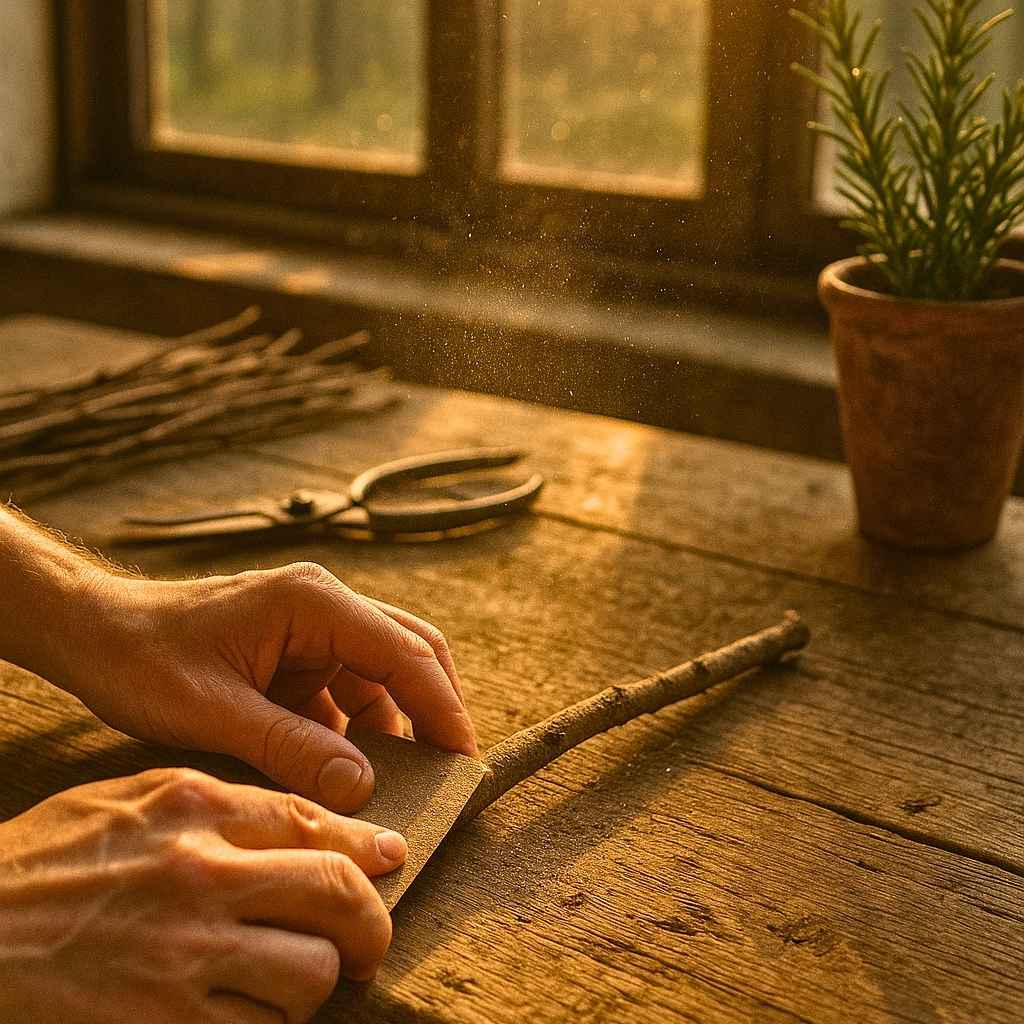
Clean your chosen branch carefully, removing bark or leaving it on for a rustic charm. Sand down rough spots, especially the handle area, until it’s smooth and comfortable to hold.
Step 3: Creating the Brush Base
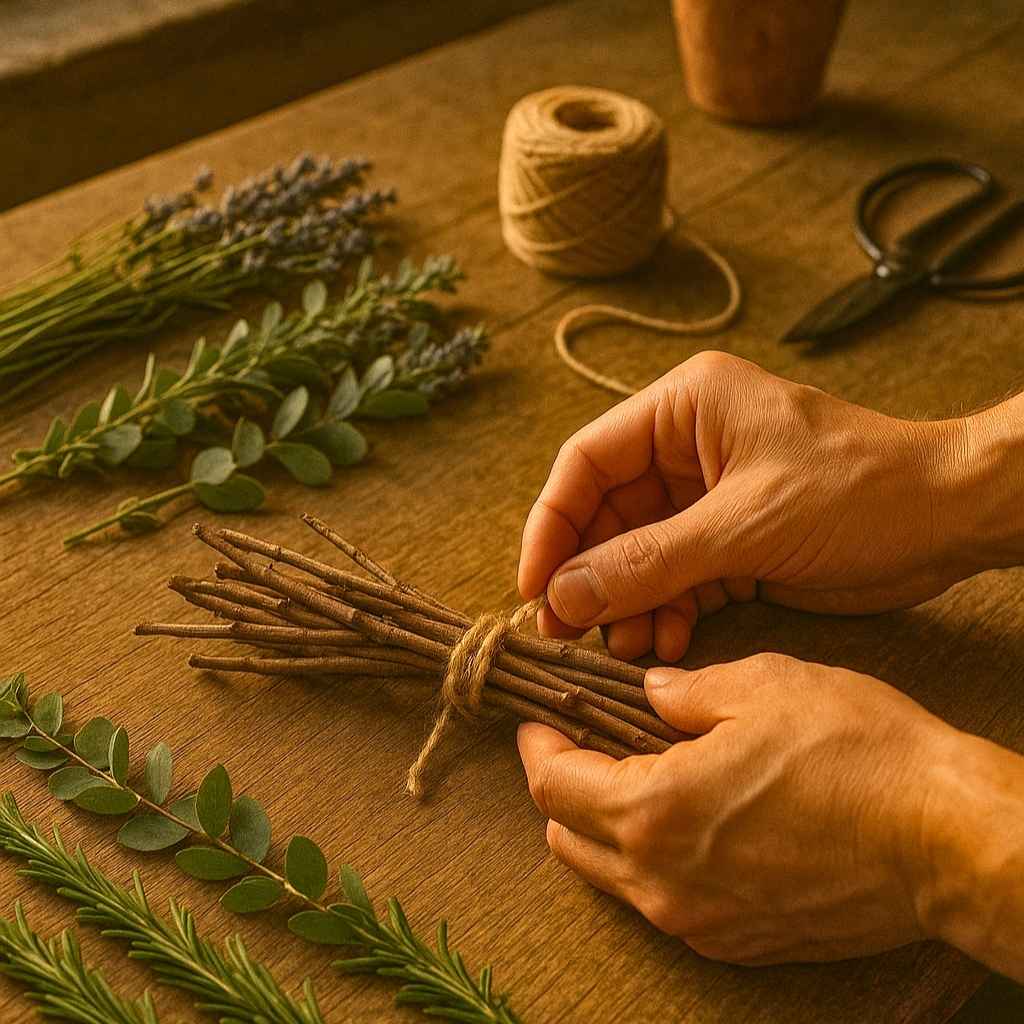
Lay out your twigs or herbs, and organize them by size. Bundle them together, ensuring they fan out slightly at the end for a full, witchy sweep. Wrap securely at the top with twine or a ribbon to hold the shape.
Step 4: Attaching the Brush
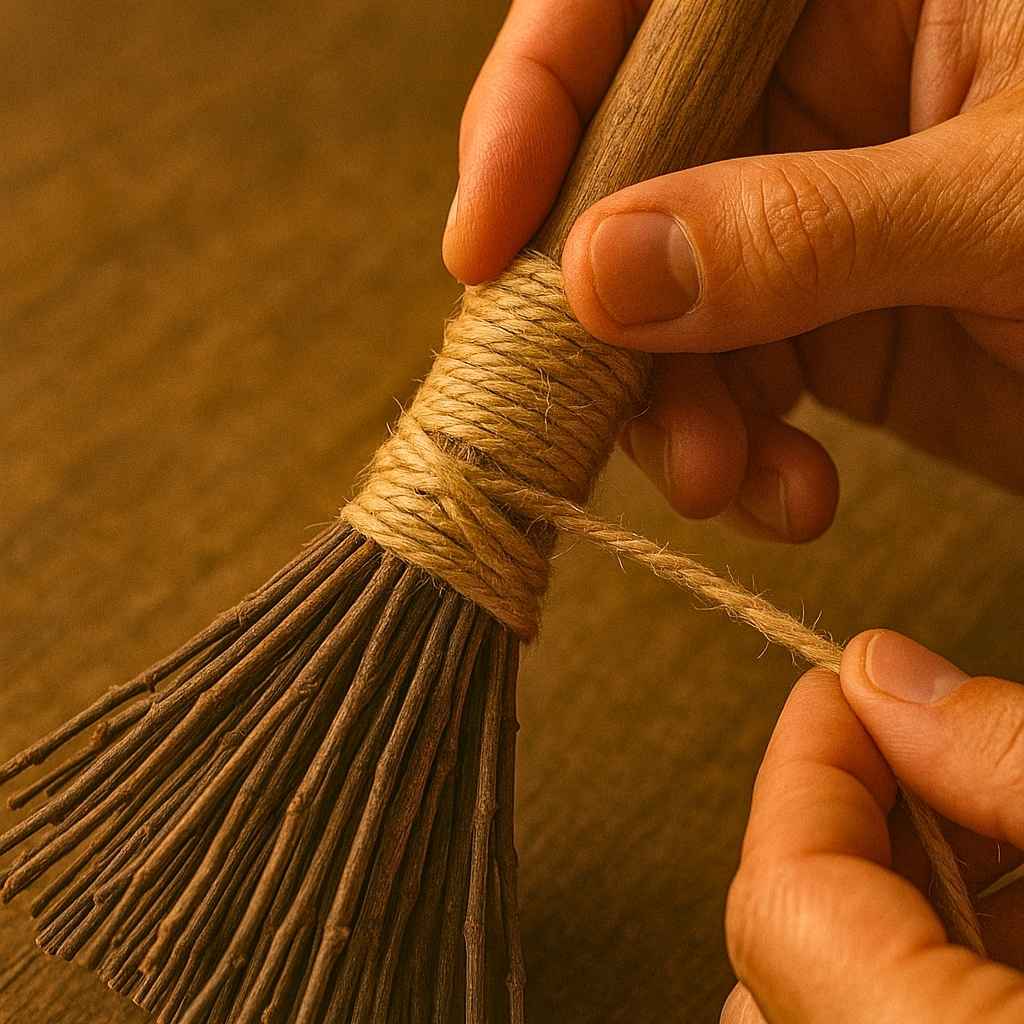
Attach your brush to the broom handle by tightly wrapping it with twine, rope, or decorative ribbon. Begin with a secure knot, then wrap tightly in a spiral pattern, finishing with another secure knot or bow.
Step 5: Adding Magical Symbols
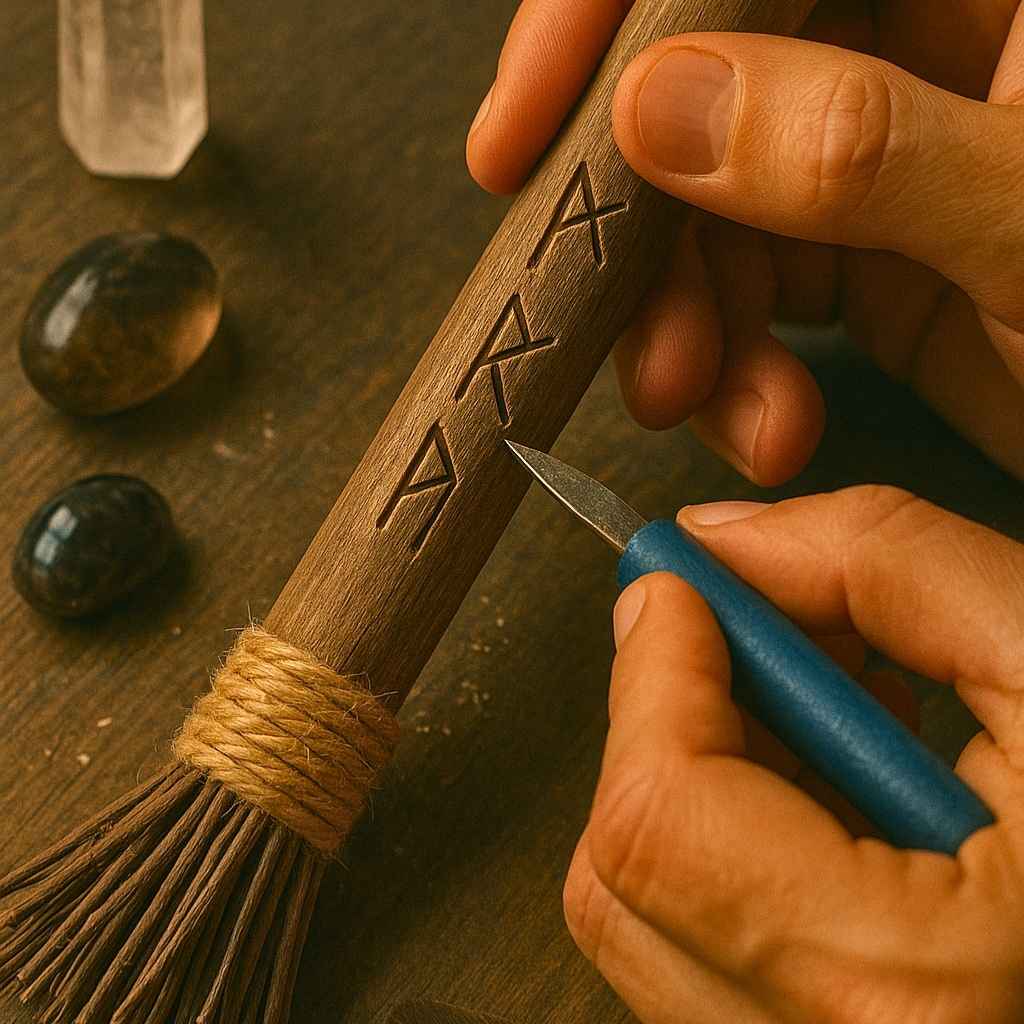
Enhance your broom with symbols that resonate with your intentions. Carve or burn runes, sigils, or moon phases onto the handle. Alternatively, you could adorn it with small crystals, feathers, or charms.
Step 6: Blessing Your Broom
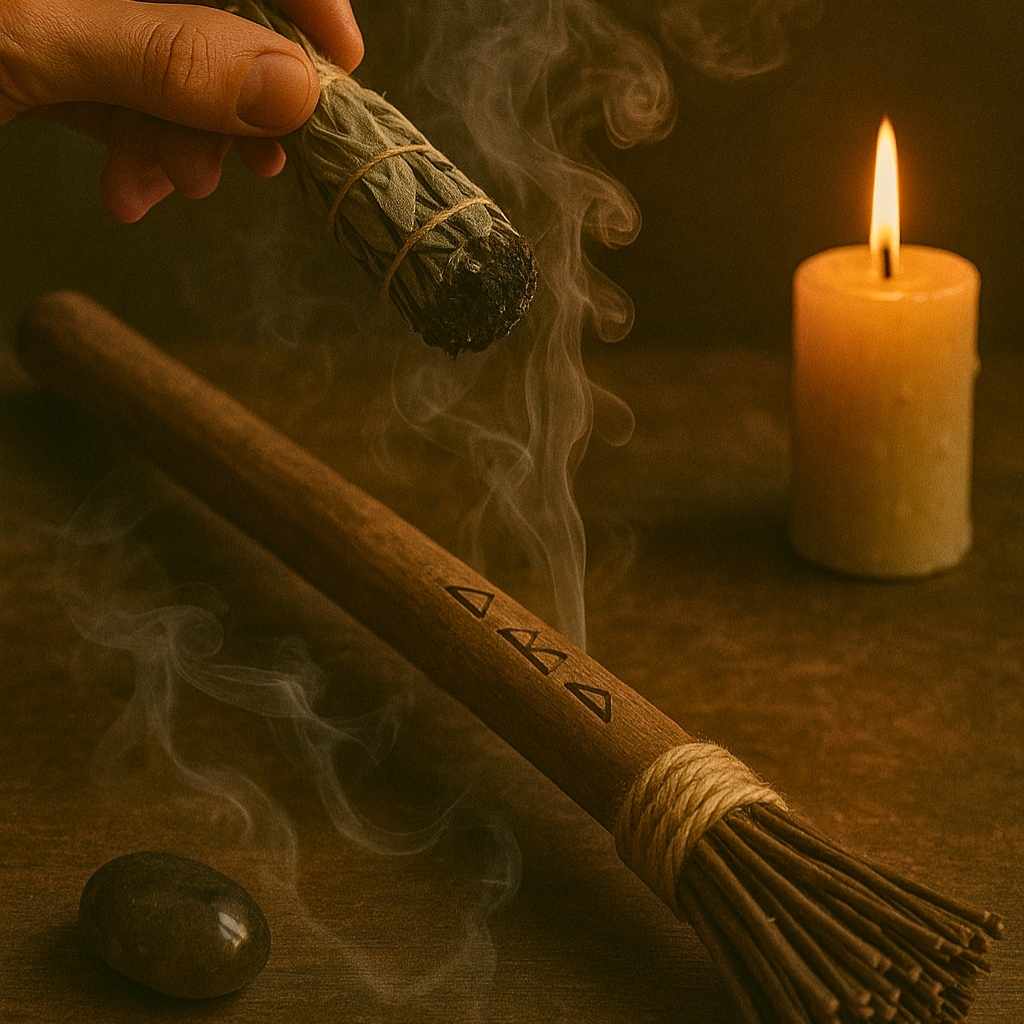
Complete your broom by infusing it with your intentions. Hold it in your hands, envision your purpose, and speak words of empowerment, protection, or manifestation. Wave it gently through incense smoke or smudge stick smoke to purify and activate it.
Step 7: Personalizing with Decorative Elements
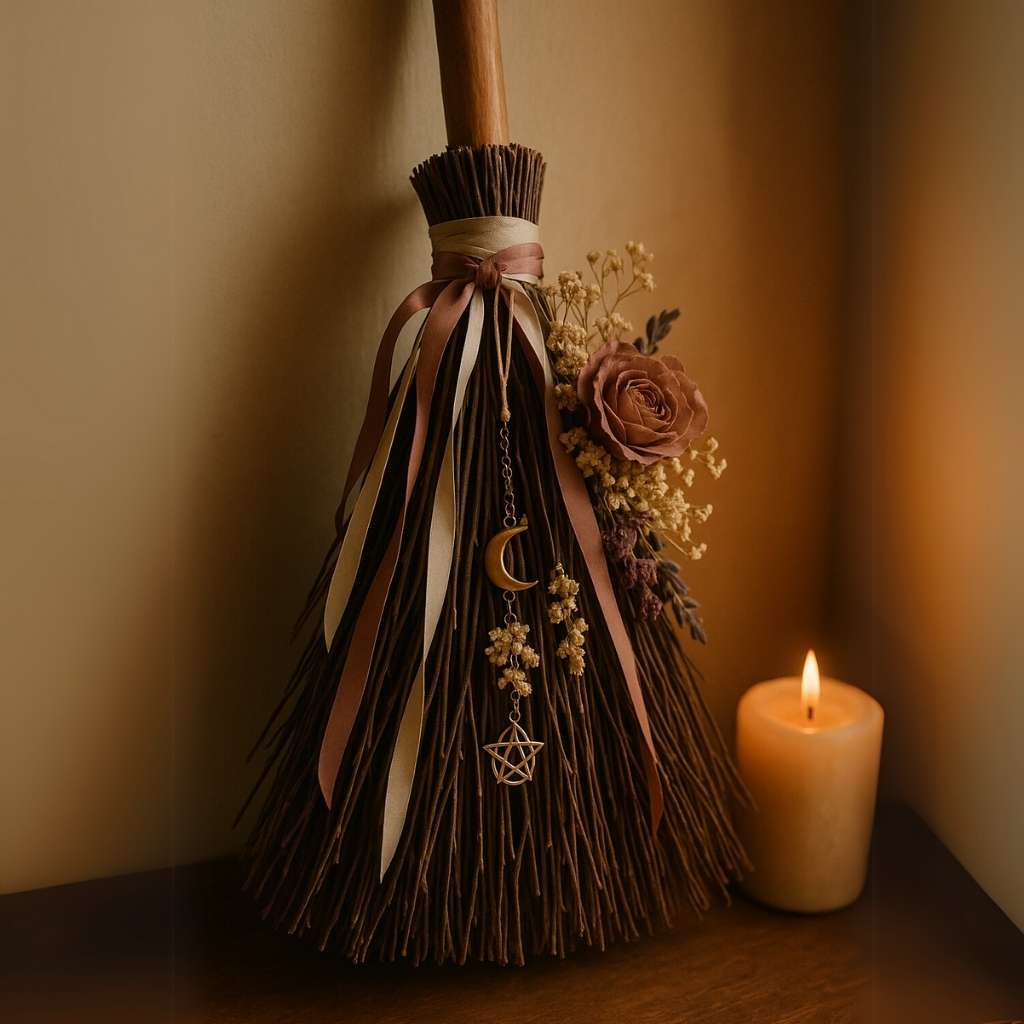
To truly make your broom uniquely yours, add decorative elements such as ribbons, dried flowers, or even small talismans. Each element should reflect your personal energy or aesthetic.
Step 8: Displaying Your Creation
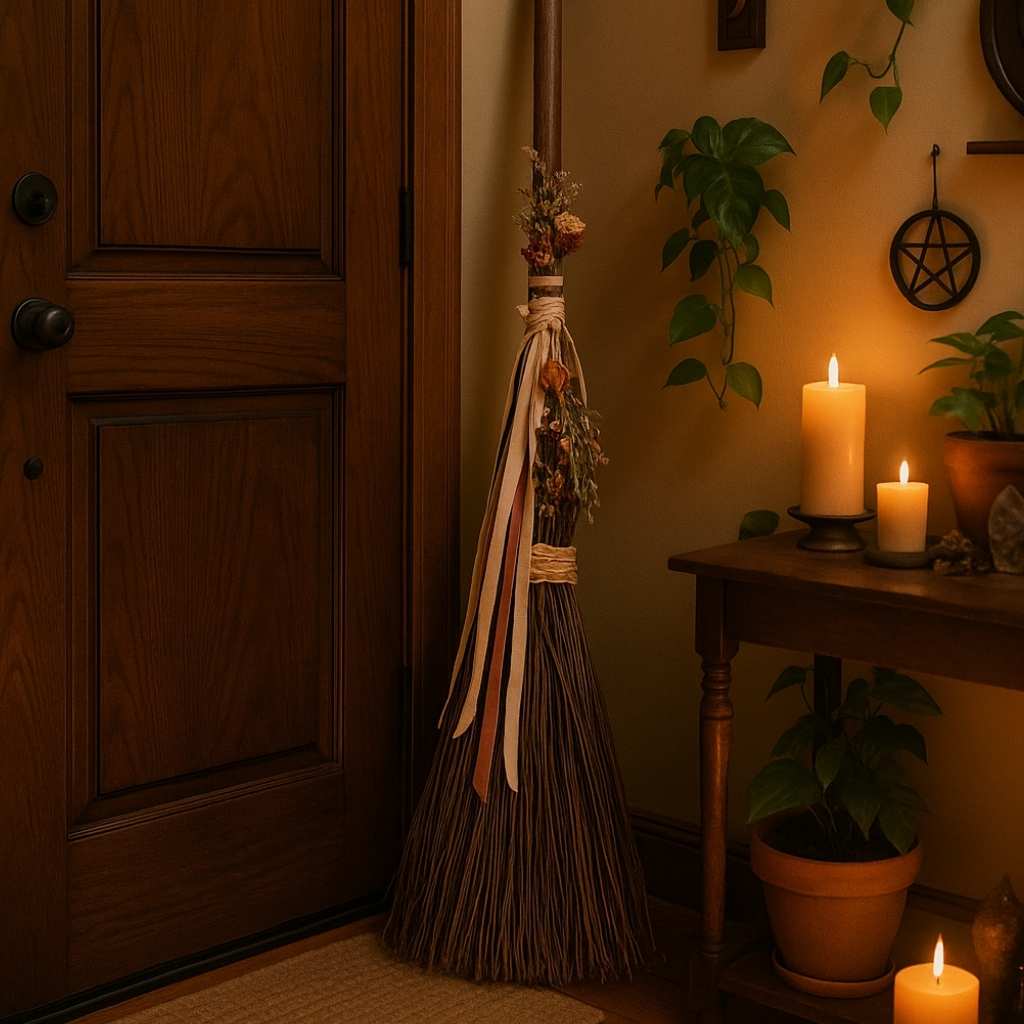
Decide how to display your beautiful broom. Whether propped by your front door, hung on a wall, or displayed prominently on your altar, your broom will radiate its crafted magic wherever it resides.
Step 9: Maintenance and Care
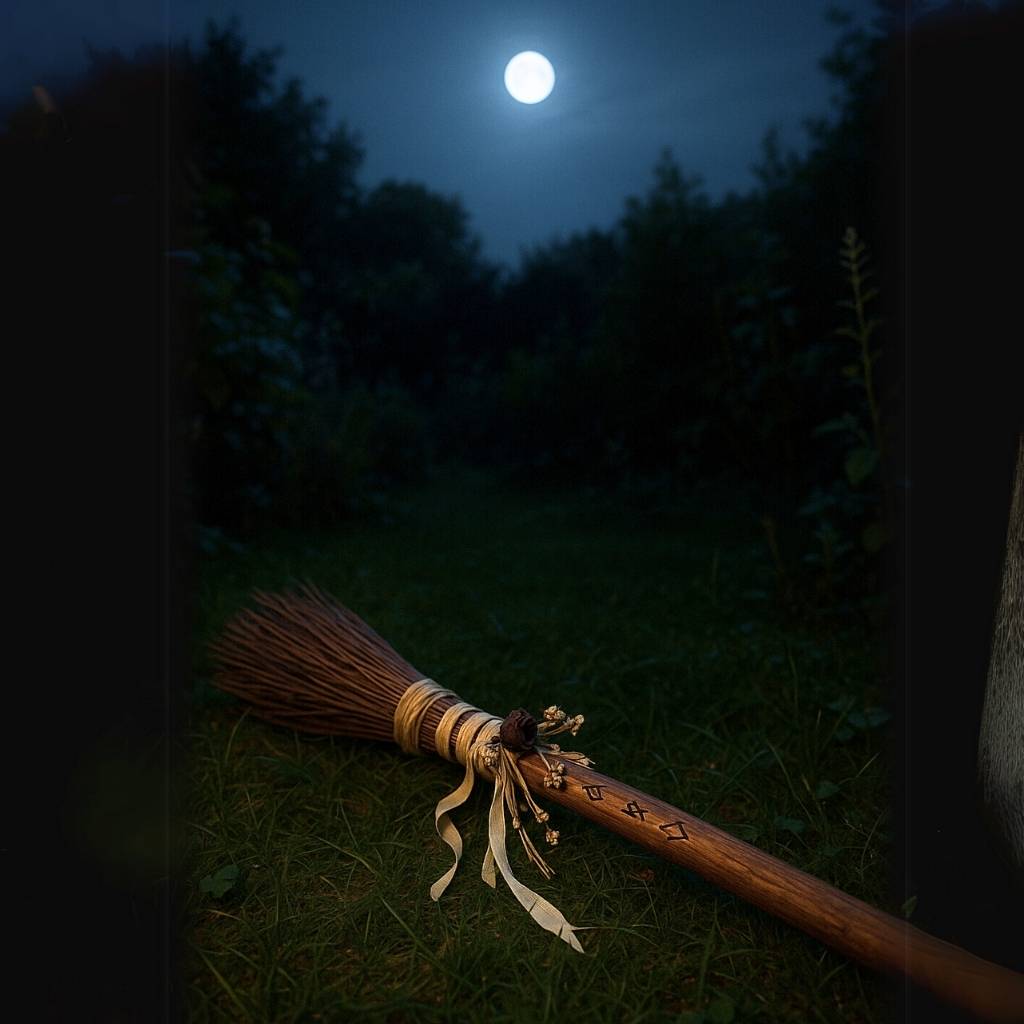
Regularly cleanse and recharge your broom under moonlight or sunlight, or by smudging. This helps it maintain its potency and align with your energy continuously.
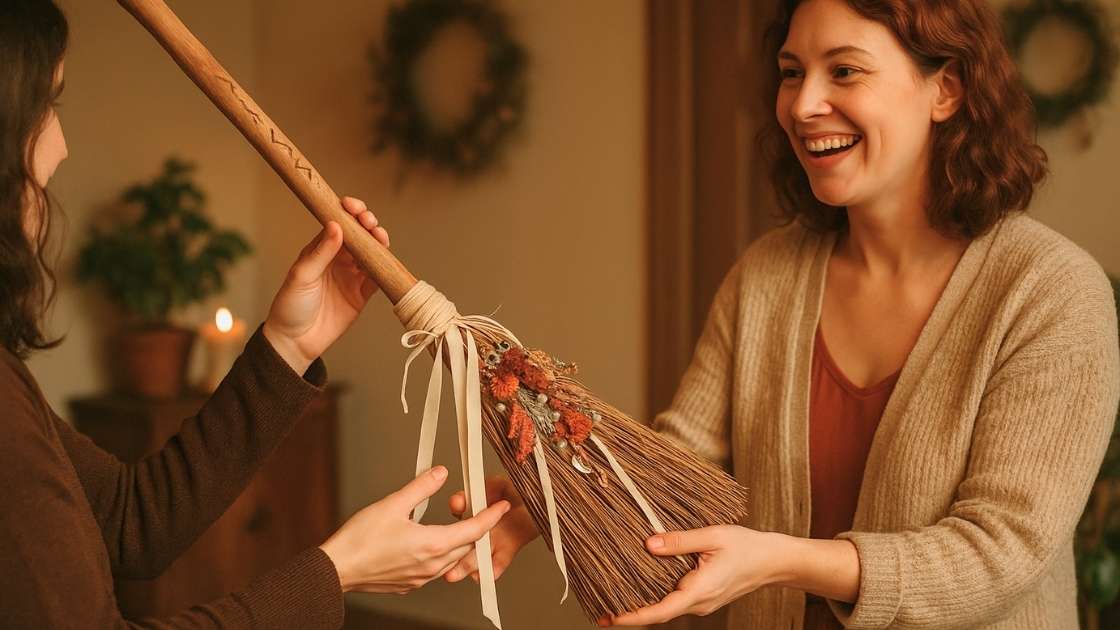
Step 10: Sharing the Magic
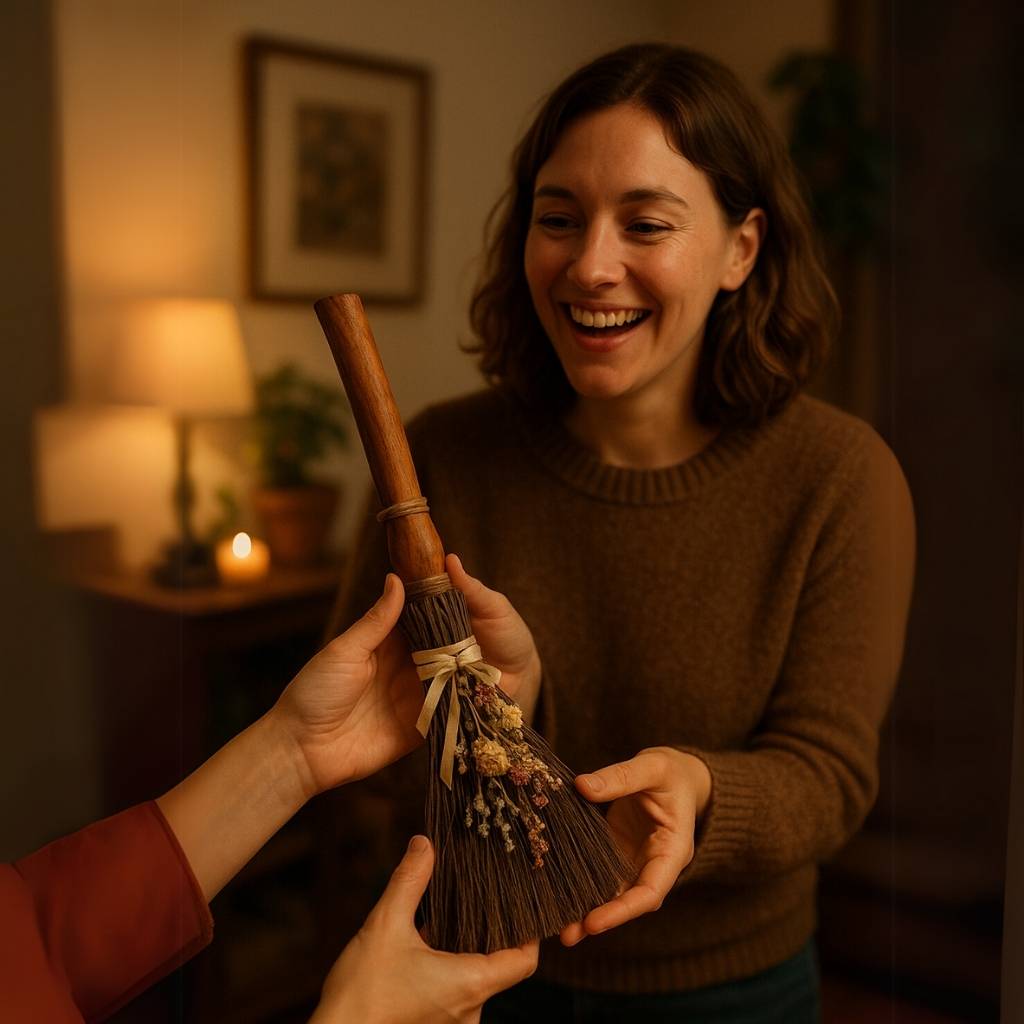
Once you’ve perfected your craft, consider gifting brooms to friends or family members. Sharing your creations spreads love, intention, and positive energy, creating a magical ripple effect.
Crafting my first witch broom was transformative—I tapped into creativity, spirituality, and a connection to nature that was deeply grounding and exhilarating. Each broom since has told its own story, woven with intention, magic, and a sprinkle of enchantment. Are you ready to weave your own broom tale? Trust me, once you start, you’ll understand exactly why I’m eager to craft ten more.
💬 Don’t forget to read the community feedback in the comments below! There’s real value in their experiences. ✨